

Android chains are special constraints that enable making changes on several views at a go. This simply means that we connect various views and we can make alignments on all of the chained views by editing the constraints of one view ie the root view. This helps balance the constraints of views to get consistency rather than having to adjust constraints on all views independently and may not be consistent.
The syntax for chaining:
First, you hover over one view, the root view, and select chains in the options. We then link the view with the rest of the views by simply clicking on the left or right part of the view, where an arrow will appear and now you can link to the next view.
 We now make horizontal constraints on the root view which will be reflected on all the other linked views. Eg setting margin start or end at 16dp.
Chaining gives horizontal placing of views whereas base-lining is for vertical positioning.
We now make horizontal constraints on the root view which will be reflected on all the other linked views. Eg setting margin start or end at 16dp.
Chaining gives horizontal placing of views whereas base-lining is for vertical positioning.
Base-lining
Base-lining is for simply giving the same vertical position to views. A base is the horizontal position of views. Aligned or positioned according to a view, a root view, all the other views are positioned horizontally along with a specific position. This also helps in achieving consistency on views that you want to be placed along with a specific vertical position. Syntax : First hover over a specific view, a root view of your choice, and click on base-lining on the options menu. We then link the views we want to be aligned with by hovering over the bar that appears in the center of the view after selecting the baselining option.
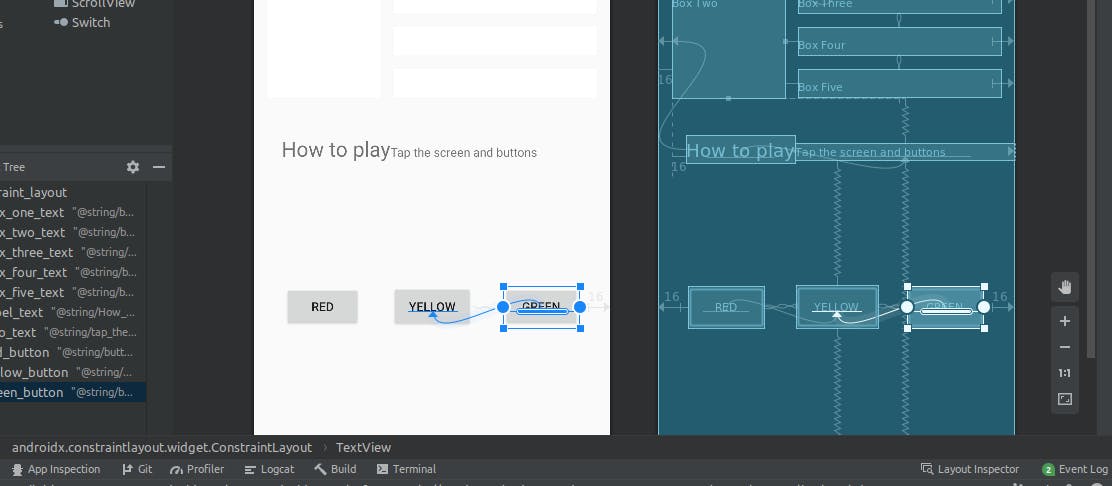 NB: We link the root view from the other views aligned with the root view. (Button yellow is our root view)
Now we make vertical alignment on button yellow and green will follow suit.
I sincerely hope you enjoyed reading the article. Follow me for more articles. Happy coding folks.